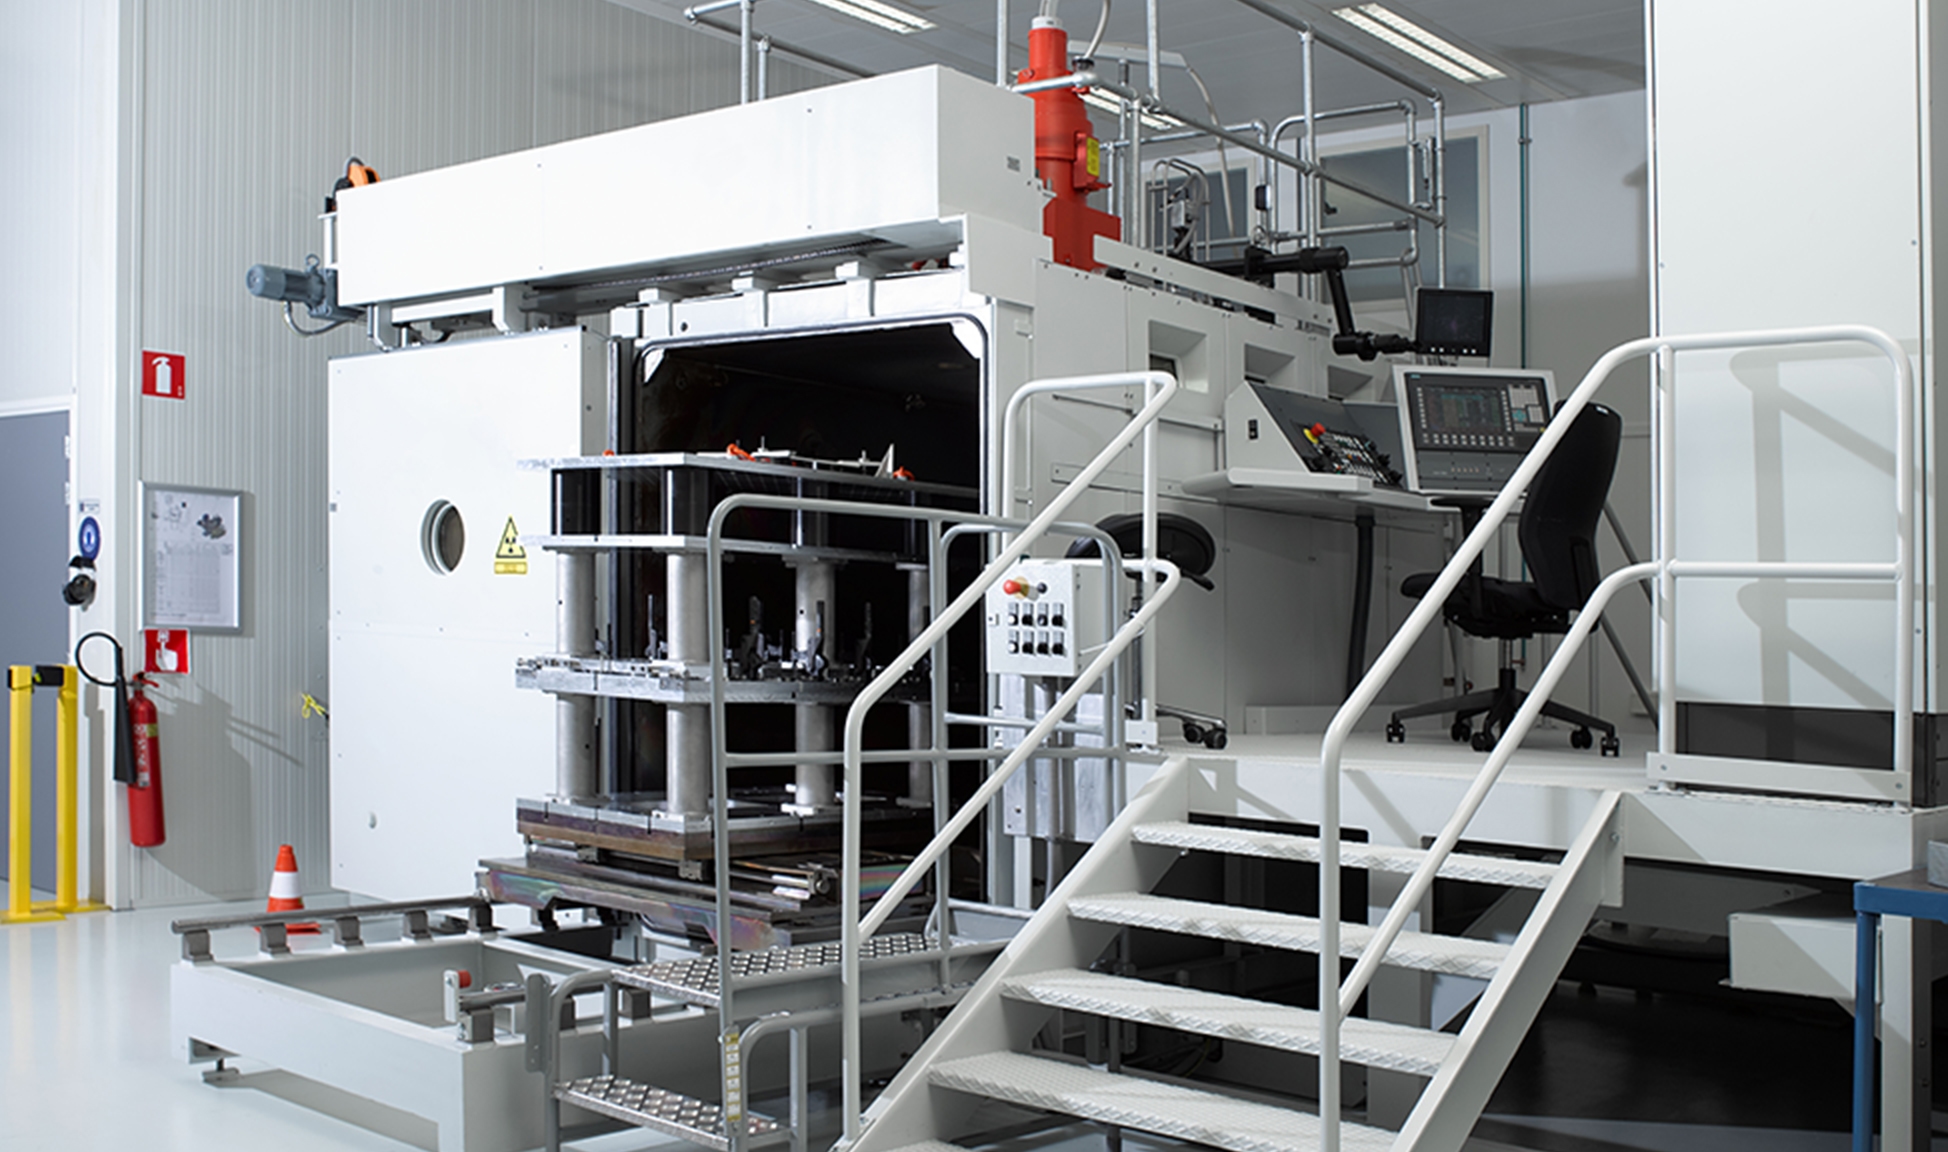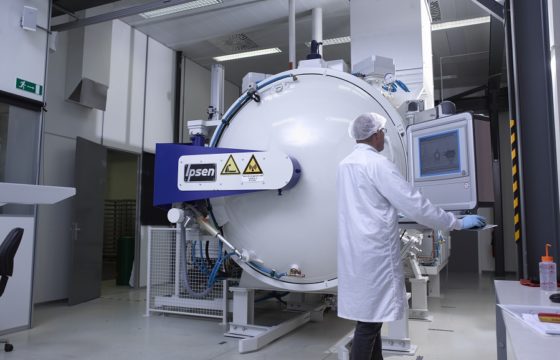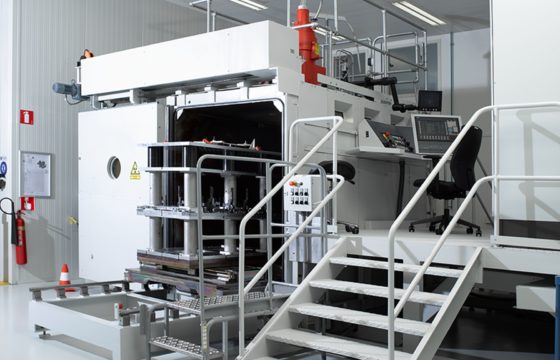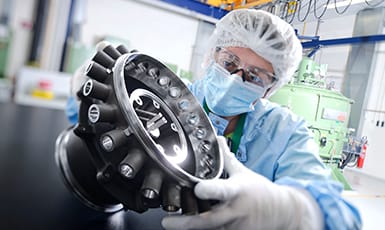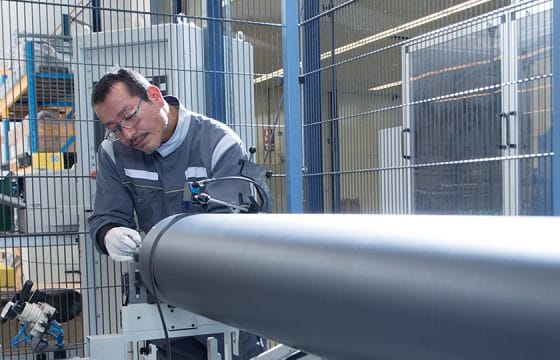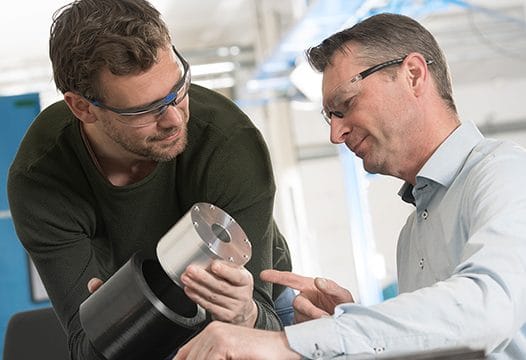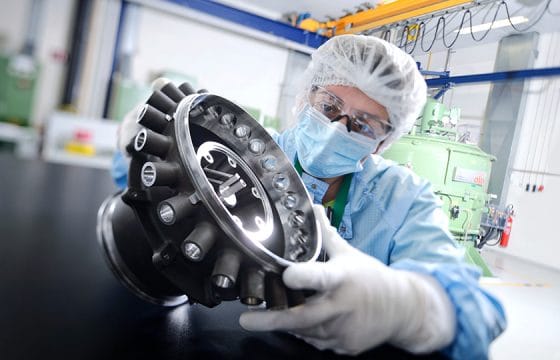
Pronexos is one of only a few companies that can offer EB welding in house, with the machinery and expertise to produce products for clients on both a small and large-scale production.
Any EB welding order at Pronexos will start with an extensive test phase. A new product needs to follow various stages for a Welding Procedure Qualification Record (WPQR). The weld parameters first need to be determined using simplified test pieces.
The welded test pieces are cut into cross sections, polished and etched before microscopic inspection takes place. Once the definitive weld parameters have been set in the Welding Procedure Specification (WPS), the final weld contours are programmed, for example with an offset of 1 mm in relation to the weld if required. This is followed with leak and pressure testing before the weld procedure is set down in work instructions.
Example project 1 – Welding TZM alloy

Weld tests were conducted with TZM alloy (Titanium Zirconium Molybdenum) for a nuclear application. This alloy is comprised of approx. 99% molybdenum, 0.5% titanium, 0.08% zirconium and 0.02% carbon. The tests consisted of welding together two small pipes with a wall thickness of 3.7 mm.
Characteristic properties of molybdenum are its high melting temperature (2,620 °C), very high sensitivity to oxidation and limited weldability. Molybdenum is susceptible to embrittlement. If correct measures are not taken, welding causes grain growth in the molybdenum and brittle structures in the weld and heat-affected zone. The ductile-brittle transition temperature also plays a significant role here. Materials that are ductile above this temperature become brittle when they fall below the transition temperature. This temperature is 150 – 260 °C for molybdenum, so the weld needs to take place above this temperature.
The use of heat treatments, welding with minimal heat input and working very cleanly made it possible to fabricate a good weld connection. The preheating took place with a divergent electron beam in the vacuum chamber itself. In the initial tests, in which low tension was not annealed after welding, cracks appeared after welding. Only after applying tension arm annealing in a vacuum furnace did no cracks appear in the welded product.
This image shows detail of the weld surface of the welded TZM pipe. The inset shows a macro of the weld (weld depth 3.8 mm, width at half depth 0.7 mm).
Example project 2 – Copper to stainless steel
This was another application required the joining of copper to stainless steel discs. The aim was to construct a robust weld 3 – 4 mm deep.
This was a weld that would not be subjected to strength testing. The challenge of welding copper to stainless steel is that copper is a very good heat conductor but stainless steel isn’t. The melting points of the materials are also different.
Choosing a wider weld made it possible to join these materials. This means there isn’t an even melt between the copper and the stainless steel, but rather a type of melt emulsion.
Hardness measurements were taken on the base material, in the weld and in both heat-affected zones after the welding. This showed that there were no hard phases on the weld or heat-affected zone that could lead to embrittlement.
